


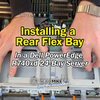


WATCH: Installing a Rear Flex Bay in an R740xd 24-Bay Server
This tutorial will show you, step-by-step, how to install a rear flex bay into a 24-Bay Dell PowerEdge R740xd server.
The installation would also be the same for installing in an R740xd 12-bay server; however, with rear flex bays for 12-bay servers, the SAS cable placement is different on the chassis backplane, and you would need to use a different SAS cable (more on that later).
NOTE: With 12th and 13th gen servers, the parts vary significantly more between different configurations; we covered that here. You can find a chart of the P/Ns and images of the alternate Flex Bay cables at the end of this Dell PowerEdge R740xd Flex Bay installation guide. (Jump to Parts Chart)
You'll want to remove the air shroud and the fans before you start. This will allow you to properly install the cables that connect the flex bay to the Dell R740xd rear backplane.
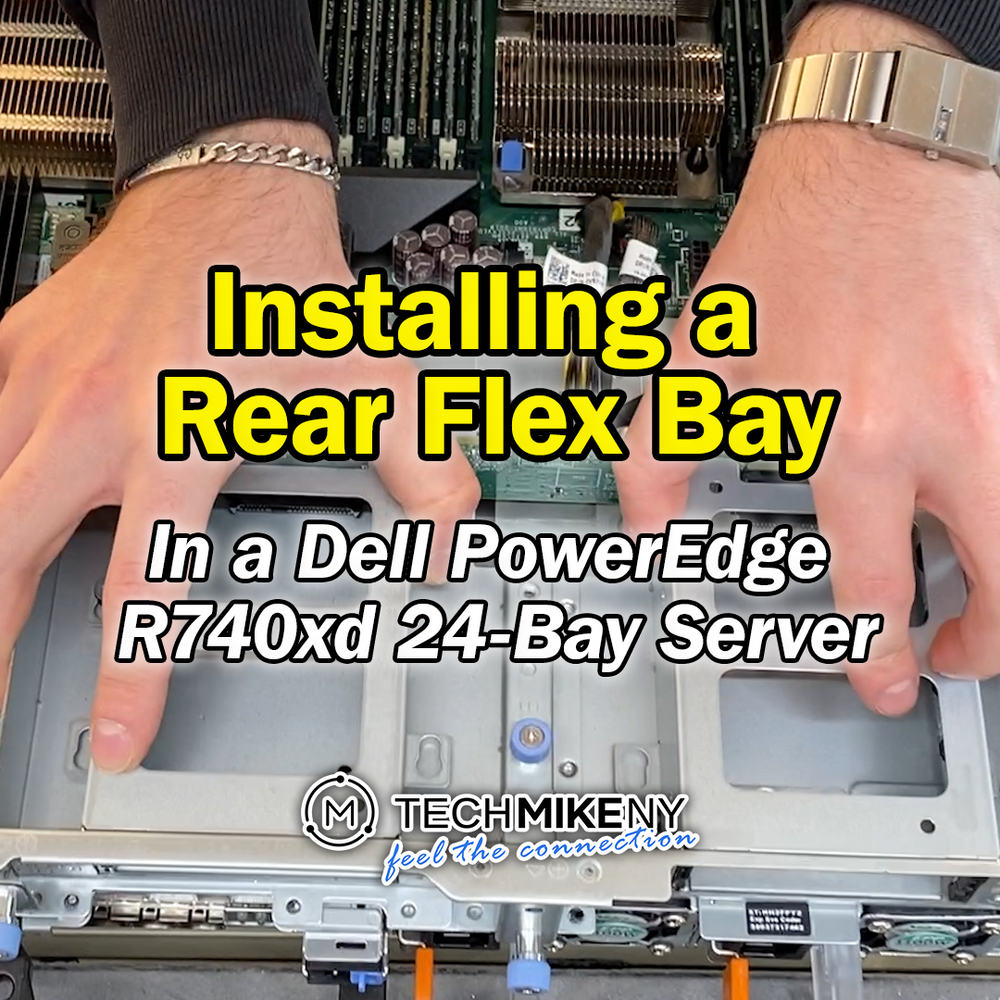
Start by installing the flex bay controller itself. When the controller is aligned, push down and slide the controller in.

There are 3 cables that need to be connected:
- 2 cables that connect to the motherboard
- 1 cable that connects to the backplane
The power cable connects to the black power port, and the signal cable plugs into the black signal port (in the middle).

Pictured: the signal cable and power cable plugged into their respective ports.
Next, connect the backplane SAS cable. This cable goes from the flex bay controller to the dedicated port on the backplane. Feed the cable into its groove and plug it into the corresponding port on the backplane. (You may notice that the cable is handily labeled B1, which matches the “B1” on the backplane; that's the right port!)

Proper cable management is important - route the cables so that the backplane cable remains securely in its channel.
Next, fasten all of the screws to the chassis. There are 3 screws attached to the flex bay (outlined with blue rings) that you’ll need to fasten:
- 1 screw into the chassis
- 2 screws at the back

Pictured: the three screws that need to be fastened.
Now you’re ready to install the hard drives into the flex bays. The flex bay hard drives are hot-swappable, just like the backplane hard drives.

And that’s it! See below for the list of cables you'll need for installing a rear flex bay into a 12-bay or a 24-bay Dell PowerEdge R740xd.
R740xd Cables for Rear Flex Bay Installation
